Printable RV Inspection Checklist (Pre-Purchase & Storage)
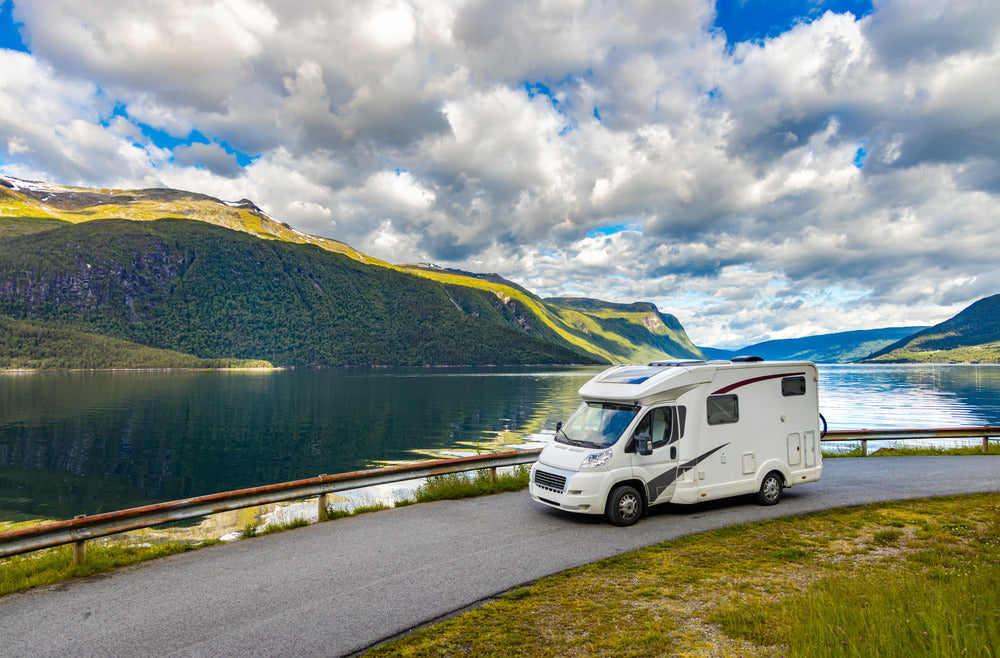
Whether you’re gearing up for your first big road trip, buying a used RV, or prepping your rig for storage, one thing is non-negotiable: a thorough inspection.
Minor issues can lead to expensive repairs, safety hazards, and even rodent infestations. But a watchful eye means early detection and fewer hassles. That’s why we’ve put together these simple, printable RV Inspection Checklists — to make preventative measures even easier!
But remember, not all inspections are the same.
In this guide, we’ll break down exactly what to inspect before purchase, before storage, and after storage:
- Pre-Purchase RV Inspection Checklist
- Pre-Storage RV Inspection Checklist
- Post-Storage RV Inspection Checklist
How to Use This Guide (and What to Bring)
An RV inspection isn’t a race. Go slow. Take photos. Make notes so that you’re not relying on your memory later. When in doubt, ask yourself, What am I seeing, why might it matter, and what precautions can I take?
(And if you’re purchasing a high-value rig, pair this with a professional inspection.)
Handy tools to pack:
- Flashlight or headlamp
- Moisture meter (optional but helpful)
- Tire pressure gauge & torque wrench
- Outlet/polarity tester & basic multimeter
- Gloves, rags, small mirror, plastic scraper
- A few zipper bags/labels for screws or small parts you remove and replace

Pre-Purchase RV Inspection Checklist
The most important inspection you’ll ever make is your first. An RV is a big investment. Make sure you’re getting what you’re paying for. Start from the outside and work your way in, confirming the health of every aspect of the rig.
Sound a little overwhelming? Don’t be afraid to ask for professional support.
Download the Pre-Purchase RV Inspection Checklist (PDF)
Exterior Walkaround
Roof & Seams (where most hidden damage starts)
If you only have time for one deep check, make it the roof. Water follows gravity — any cracked sealant or loose fixture can quietly soak insulation, rot wood, and delaminate walls.
- What to do: From a stable ladder, scan perimeter seams and every penetration (vents, skylights, antennas, AC). Look for cracked, lifted, or missing lap sealant, exposed fasteners, torn membrane, pooled water, and soft spots when you press lightly. Photograph anything suspicious and note location.
- Why it matters: Even a slow drip can lead to soft floors, mold, and expensive wall/roof rebuilds. Catching it early is often a $15 sealant fix instead of a multi-thousand-dollar repair.
- Red flags: Chalky/split sealant, bubbles in the membrane, roof sagging around fixtures, water stains inside.
Sidewalls, Windows, & Doors
Stand back and look down each side of your rig. Ripples or waves in the fiberglass can hint at delamination from moisture. Check the seals and trim around windows and doors for brittleness or staining.
Open and close doors — they should latch smoothly without needing a hip-check. Inside, run your palm along wall corners and beneath windows to feel for cool dampness or soft spots.
Slide-Outs & Awnings
Extend and retract slides fully. You’re listening for smooth, even travel and watching seals compress evenly. Look for torn wipers, debris in tracks, and water staining below corners.
On awnings, inspect fabric edges, roller springs, and mounts. A jerky motor or uneven extension suggests alignment or motor wear worth addressing.
Undercarriage & Frame
Don’t be afraid to crawl under the RV with your light. Surface rust happens, but thick flaking scale on structural elements is different. Inspect frame welds, bumper mounts, leveling jacks, stabilizers, and the hitch area. Trace propane and waste lines for abrasion points.
If equipped, look at brake lines and wiring looms for rub-throughs.
Tires, Brakes & Suspension
Tires age from the inside out. Check DOT date codes (generally consider replacement around year 6–7 regardless of tread), sidewalls for checking, and tread for uneven wear (alignment/suspension clues).
Confirm load ratings match your rig. If possible, inspect brake pads/rotors or trailer brake assemblies and lines. Bounce a corner and watch it settle — multiple oscillations suggest tired shocks. Look at leaf springs, bushings, shackles, and U-bolts for play or deformation.
Electrical & Power Systems
RVs blend 12V DC and 120V AC systems, and each deserves a quick health check.
12V (house)
- Note battery type and age. With the rig at rest, a healthy fully-charged 12V battery typically reads ~12.6–12.7V. Corroded terminals, swollen cases, and funky smells are red flags.
- Confirm the converter/charger is functioning (voltage rises when connected to shore power). Inspect fuses and main DC distribution for heat discoloration or loose connections.
120V shore power
- Test outlets with a basic polarity/GFCI tester. Verify GFCIs trip/reset properly, especially in galley and bath areas.
- If the rig has a transfer switch (generator/shore), listen for proper engagement. Open the breaker panel to ensure labeling is clear and there’s no heat-scorching.
Generator / Inverter / Charger
- If present, start the generator and let it warm. Listen for surging; apply a modest load (e.g., microwave) to confirm it carries power without stumbling.
- For inverters, verify the on/off function and whether priority/charging behavior matches expectations when on shore power.
Propane & Appliances
Work outdoors or ventilated, keep flames off, and prioritize safety.
- Inspect cylinder/tank dates, valves, pigtails, and regulator for corrosion or damage.
- With gas on, use a mild soapy water solution to spot bubbles at fittings (indicating leaks). If you see bubbles or smell gas, stop and have a pro address it.
- One by one, test appliances: stove/oven burners (clean flame, good ignition), water heater (both electric and gas modes if applicable), and fridge (AC/DC/propane modes where supported). Listen for ignition clicks and check for error codes.
Plumbing & Waste Systems
Turn on the pump; it should prime quickly and hold pressure without cycling every few minutes.
- Run each fixture (hot/cold). Look under every sink and at P-traps for active drips or mineral trails.
- Inspect toilet seal, shower pan seams, and around the water heater for staining.
- Check tank valves and indicators; sticky or inaccurate sensors are common but note them.
- If the rig was winterized, ask what was used and when. Residual antifreeze is normal, but mystery odors are not.
Floors tell the truth: press around the base of sinks, toilets, and walls near plumbing runs. Spongy areas hint at longer-term leaks.
Interior & Safety Systems
Inside, look for water stains, soft spots, and swollen trim — especially near roof seams, slide corners, and plumbing.
Open every cabinet and drawer. Misalignment can signal frame issues or long-term settling. Test every appliance you plan to rely on (microwave, fans, furnace, AC). Replace batteries in CO/propane/smoke detectors and check extinguisher pressure/date.

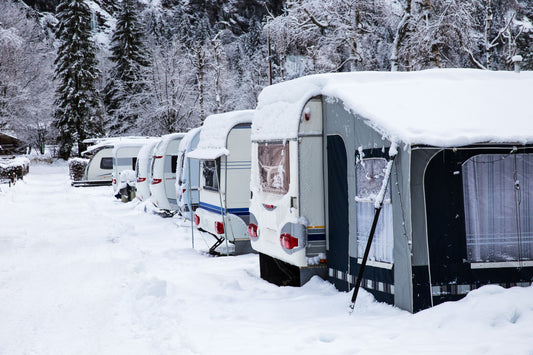
Pre-Storage RV Inspection Checklist
Prepping your RV for long-term or seasonal storage is one of the best ways to prevent damage — and one of the most overlooked. Moisture, rodents, and battery degradation are all common problems that stem from improper storage prep.
Before storage, make sure you:
- Drain and winterize the plumbing system.
- Wash and dry the exterior thoroughly, clearing the roof of any debris.
- Remove all perishable food, wipe down surfaces, and vacuum for crumbs.
- Address any moisture points, prop open the fridge and cabinets, and add a dehumidifier where appropriate.
- Disconnect the battery or connect a trickle charger.
- Inflate and cover your tires, or better yet, raise them off the ground
- Crack roof vents slightly if climate allows (with covers) to promote airflow.
- Seal up rodent entry points and remove all tempting nesting materials
- Add fuel stabilizer and exercise the generator briefly.
Rodent prevention note: Traps are reactive. Prevent the problem in the first place with a physical barrier like the Box-Kat around your parked rig keeps critters from getting close — which means fewer surprises in spring.
Download the Pre-Storage RV Inspection Checklist (PDF)

Post-Storage RV Inspection Checklist
Once your RV has been sitting for a while — especially over winter — you’ll want to give it a detailed inspection before hitting the road. Frozen pipes, chewed wires, flat-spotted tires, or gas leaks can all show up after months of inactivity.
After storage:
- Check for rodent damage under sinks, in drawers, and around wiring bundles.
- Search for leaks and signs of moisture from the roof seams, windows, and the undercarriage.
- Inflate the tires to the proper PSI and inspect for dry rot or flat spots.
- Reconnect the battery, test voltage, and confirm inverter/solar systems are functional.
- Flush and sanitize water tanks, test appliances, and check for gas leaks.
- Test propane appliances in open air, re-checking for leaks with soapy water at fittings.
- Take your rig on a short drive before going on a long trip.
Download the Post-Storage RV Inspection Checklist (PDF)
DIY vs Pro: When to Hire an NRVIA-Certified Inspector
A well-done DIY checklist catches a lot. Still, if you’re buying used, the rig is complex/high-value, or you’ve found hints of water intrusion or electrical gremlins, a certified third-party inspection is smart. Pros bring moisture mapping, thermal imaging, load testing, and a neutral eye. Many buyers negotiate thousands off a price (or simply walk away) thanks to a thorough report.
Find a NRVIA-certified inspector.
10 Red Flags to Fix ASAP (or Walk Away)
- Soft floors around galley/bath or slide corners
- Active roof/ceiling stains or sagging deck
- Delamination ripples on sidewalls
- Strong ammonia odor from an absorption fridge (cooling unit failure)
- Burnt wiring smell, melted insulation, or warm breaker/fuse blocks
- Propane leaks (bubbles on fittings, gas odor)
- Thick frame rust scale or cracked welds
- Generator surging or no output under modest load
- Chronic pump cycling or unexplained water loss
- Tires past date with sidewall checking and uneven wear patterns
Download All 3 Free Checklists
Whether you’re inspecting a potential purchase, prepping for winter, or coming out of storage, we’ve got you covered.
Download the Pre-Purchase RV Inspection Checklist (PDF)
Download the Pre-Storage RV Inspection Checklist (PDF)
Download the Post-Storage RV Inspection Checklist (PDF)

FAQs
How often should I inspect my RV?
Do a quick walk-around before every drive, plus a deeper inspection at the start and end of each season and any time you notice drips, odors, or electrical oddities.
Is a DIY checklist enough before buying used?
It catches a lot, but for high-value purchases or when you suspect hidden water damage, hire a certified inspector. The report often pays for itself.
What tire PSI should I run?
Follow the manufacturer’s load/pressure tables for your specific tire and weight. If you haven’t weighed your rig by axle (or by corner), it’s worth doing.
How do I check for roof leaks?
Look for cracked/lifted sealant, soft spots, and staining around fixtures. Inside, check for ceiling discoloration and spongy corners. When unsure, get a moisture reading or professional opinion.
Do I need to “exercise” my generator?
Yes — periodic running under load helps keep it healthy. Before storage, use treated fuel and follow the manufacturer’s guidance.
My sensors are inaccurate — normal?
Tank sensors are notoriously finicky. Cleaners can help but note the behavior and don’t ignore smells or slow drains.
What’s the #1 storage mistake?
Putting an RV away damp and dirty. Clean and dry first, fix small sealant issues, manage moisture, and block pest access.
When should I reseal the roof?
Inspect sealant each season. Touch-up as soon as cracks appear using the correct product for your roof type (EPDM/TPO/fiberglass). Waiting turns $15 maintenance into major repair.
Final Thoughts: Protect Your RV, Protect Your Investment
A detailed RV inspection doesn’t have to be intimidating. With the right checklist — and a little time — you can catch issues early, avoid expensive repairs, and feel confident heading down the road.
From experience, we know that rodent damage, water leaks, and electrical issues are three of the most expensive and preventable problems for RV owners. That’s why we built these checklists — to help you prevent them, not just repair them.
And don’t forget, when it comes to keeping rodents out of your RV for good, there is no better defense than the Box-Kat mouse barrier. Our patented flex panels create a seamless connection with the ground, protecting your RV’s undercarriage, and keeping mice from getting near — all without traps, poisons, or chemicals.
Happy driving — and smart inspections.