10 Winter RV Storage Tips (Updated for 2025): A Step-by-Step Checklist
Editor’s note: This article was updated for 2025 with fresh cost ranges, new timing guidance, and a printable Pre-Storage Checklist to keep your RV safe all winter long.
Every year, as temperatures drop, RV owners face the challenge of proper winter storage. Without the right precautions, your RV could suffer costly damage — busted pipes, dead batteries, chewed wiring, and even rodent infestations. But the good news? With a few essential RV winter storage tips, you can protect your investment and avoid expensive repairs when spring rolls around.
This guide will walk you through 10 crucial steps to safely store your rig during the offseason, ensuring it stays in top shape and is road-ready for your next adventure.
1. Know When It’s Time to Winterize
Waiting too long is where most owners get caught. The rule of thumb: when overnight lows start hitting 30°F (-1°C) for more than 30 minutes, your plumbing is at risk of freezing. Even a single freeze can split a line and create a huge mess.
Not sure? Check out NOAA’s historical data for the first fall freezes to gauge your region’s average date and plan to winterize before that window.
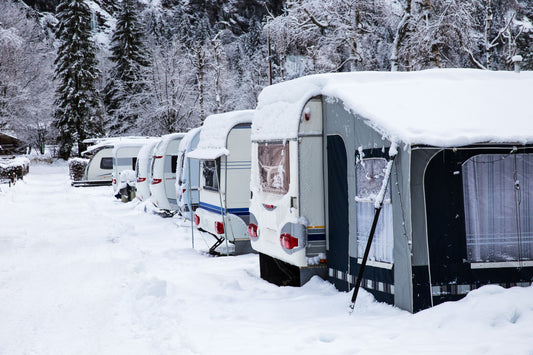
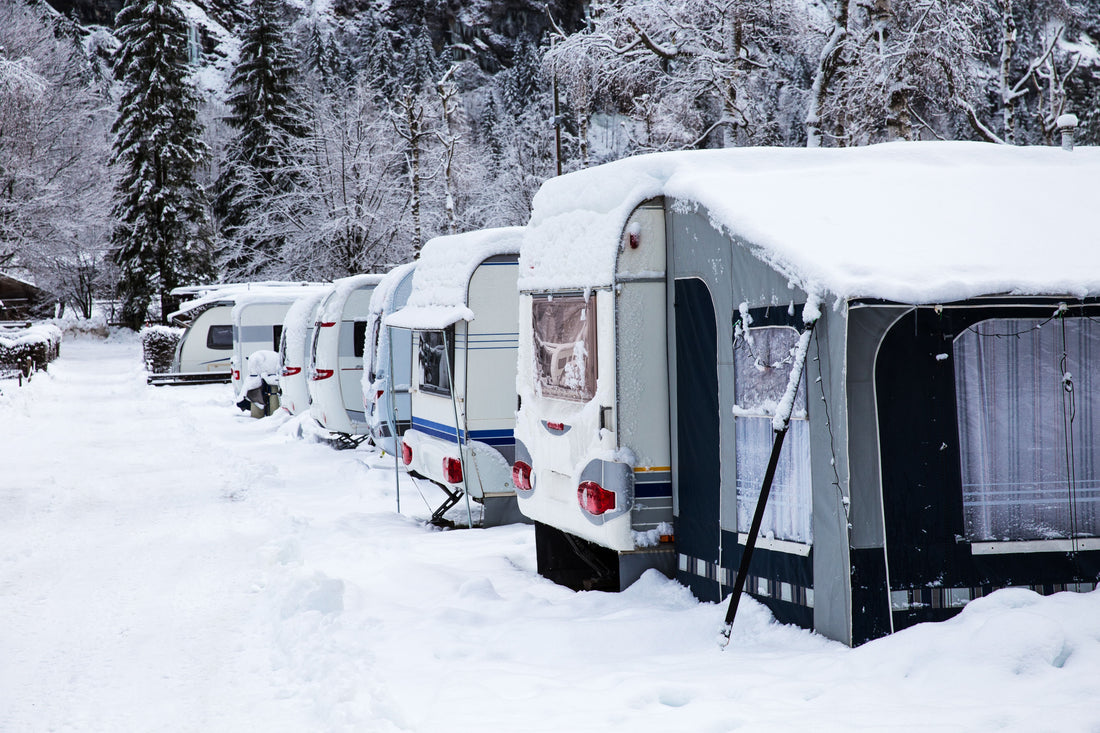
2. Pick the Right Storage Setup
Where you store your RV makes a big difference in how much prep you’ll need.
| Option | Typical Monthly Cost* | Pros | Cons |
|---|---|---|---|
| Outdoor (uncovered) | $75–150+ | Most affordable; easy access | Exposure to weather/UV; full winterization required |
| Covered (carport-style) | $125–200+ | UV/snow protection; lower exterior wear | Still subject to temps; availability varies |
| Indoor (enclosed) | $150–400+ | Best protection; added security & amenities | Highest cost; limited supply for large rigs |
*Estimates compiled from national storage cost sources; actual rates vary by location and amenities.
No matter which you choose, make sure the facility has the basics: good lighting, gated security, and easy access. Want a full breakdown? Check out our full guide on vehicle storage options.
Or if you concerned about budgeting, jump to our RV Storage Cost Calculator.
3. Start with a Pre-Storage Inspection
Think of this like your RV’s “health check” before hibernation. Walk around the exterior, look for cracks in the roof seams, reseal if necessary, wash off dirt, and give everything a wax coat to protect against winter moisture.
Inside, vacuum thoroughly and remove anything edible—even dry goods or spices. Pests have a nose for crumbs. This step alone prevents many of the problems RV owners discover in spring.
For a complete walkthrough, grab our Pre-Storage RV Inspection Checklist (PDF) and tape it inside your cabinet for next season.
4. Winterize Your Plumbing System
Nothing ruins a spring trip faster than discovering cracked pipes or a burst water heater. Winterizing is about making sure no water is left in the system to freeze and expand.
Here’s how most owners do it:
- Drain all tanks — fresh, gray, and black.
- Bypass and drain the water heater so you don’t waste antifreeze.
- Blow out the lines with compressed air or pump RV antifreeze through the system. Air is less messy, antifreeze is foolproof — especially in harsher climates.
Don’t forget outside showers, ice makers, or low-point drains. It’s a bit of work, but the cost of skipping it? Thousands in plumbing repairs.
5. Protect Your Battery from the Cold
Cold weather is brutal on batteries. Leaving them hooked up all winter almost guarantees you’ll be buying replacements in spring.
Instead, disconnect and remove your house batteries (and chassis battery if needed). Store them in a cool, dry spot and hook them to a trickle charger. If you stay plugged into shore power, check that your charger is designed for long-term float charging — some older converters will actually overcharge.
A little care here saves both frustration and money.
6. Don’t Forget Your Tires, Fuel & Generator
Flat-spotted tires, stale fuel, and a stubborn generator are all common spring headaches.
- Tires: Inflate to max, block them off the ground if possible, and use tire covers to protect from UV. If you can, move the RV a few feet each month to keep them round.
- Fuel: Add stabilizer to the tank and run the engine long enough to circulate it.
- Generator: Exercise it once a month under load for about two hours. It keeps seals lubricated and prevents moisture from gumming things up.
Skipping these steps can mean pricey replacements down the line.
7. Retract Slides and Protect Seals
Here’s a big one many owners miss: store your RV with the slides in. Retracting them keeps seals tighter and reduces the chance of leaks, snow load, or wind damage.
Beforehand, clean and lubricate the seals and slide mechanisms. It’s also a good time to touch up any cracked caulking around windows or roof seams. Then cover the whole rig with a breathable, RV-specific cover — never a tarp, which traps moisture and causes more problems than it solves.
8. Keep Moisture and Odors Under Control
Even a clean RV can develop that musty smell if you don’t prepare for winter air. Moisture leads to mold, and mold leads to major repairs.
After a deep clean, prop the fridge and freezer doors open so they don’t trap odors. Remove bedding and cushions or stand them upright for airflow.
Think of this step as protecting your comfort. Come spring, you’ll want to step into an RV that smells fresh — not like mildew.

9. The Most Overlooked Tip: Rodent-Proofing
If there’s one winter storage tip RV owners underestimate, it’s this. Mice and rats love the warmth of an idle RV. Once inside, they chew wires, tear insulation, and nest in vents — repairs often cost thousands, and insurance may not it.
Forget dryer sheets and peppermint oil. Those are short-lived smells, not real solutions. Poisons create their own hazards, from pets to hidden carcasses.
The only reliable approach is blocking rodents out before they ever get in. That’s exactly what our Box-Kat Mouse Barrier was built for — a physical shield that keeps mice from reaching the undercarriage of your RV, trailer, or camper. Combine it with good cleaning and sealed vents, and you’ll have true peace of mind.
If you invest in one upgrade this year, make it rodent-proofing. It’s the single most cost-effective way to avoid spring disasters.
10. Set a Monthly Check Routine
Even in storage, your RV still needs a little attention. Block off 10 minutes each month to:
| Task | Why It Matters |
|---|---|
| Clear snow/debris; quick leak scan | Prevents pooling, water intrusion, and roof damage |
| Battery check or maintainer status | Avoids dead batteries and spring no-starts |
| Roll the RV a few feet (if possible) | Helps prevent tire flat spots |
| Trap/monitoring check for pests | Catches activity early before damage spreads |
| Quick undercarriage & seal glance | Detects chewed wiring, new gaps, or loose covers |
Think of it as preventive medicine. Small checks now stop major headaches later.
Bonus: Download the 2025 RV Winter Storage Checklist
We’ve built a free Pre-Storage RV Inspection Checklist (PDF) you can print and use as a companion to these tips. It covers everything from exterior resealing to battery care, moisture control, and rodent-proofing. Download it here and tape it inside your cabinet so you’ll have it handy next year.
Final Word: Prevention Beats Repair
Storing your RV the right way isn’t about spending money — it’s about saving it. A few simple steps before winter sets in can save you thousands in repairs and keep your RV road-ready for spring adventures.
Take these ten tips to heart, and you’ll not only protect your rig, but you’ll also enjoy the peace of mind that comes from knowing you’re ready for the road ahead.